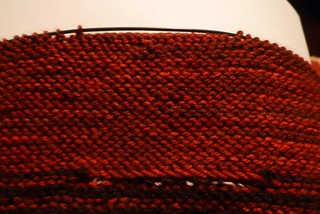
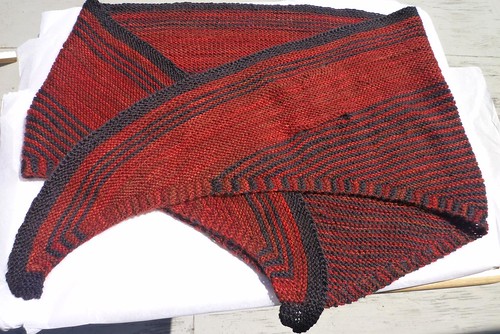
After finished the cc band:
I took the stitches on the holder (and put them onto my left needle (not shown)):
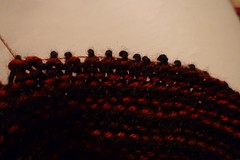
and then, knit the row, so they were on my right needle:

I knit the tab to the top to match the band. I didn't worry about row count, I just made sure they matched at the top.
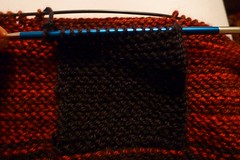

View from the front side:
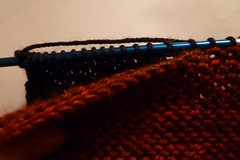
When I reached, the top, I knit across the row, and knit onto the square I knit.
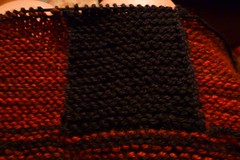
This secures the black square to the black row of stitches, but leaves the material behind open as that's where the horizontal keyhole is placed. The important this is to press the square flat against the red band to ensure it doesn't pucker. Then, when finished, block the square flat as well.
I'm sure the designer intended the square to match the band so it blends more. However, I noticed on several projects that the square doesn't blend, so then, I thought, why not make it a different colour and change the versatility of the scarf?

There's a bit of black thread sticking out that I didn't tuck in completey. Above this is where the first keyhole sits, and it's practically invisible.


No comments:
Post a Comment